
Image Masking
Photoshop: Separate the Three guys
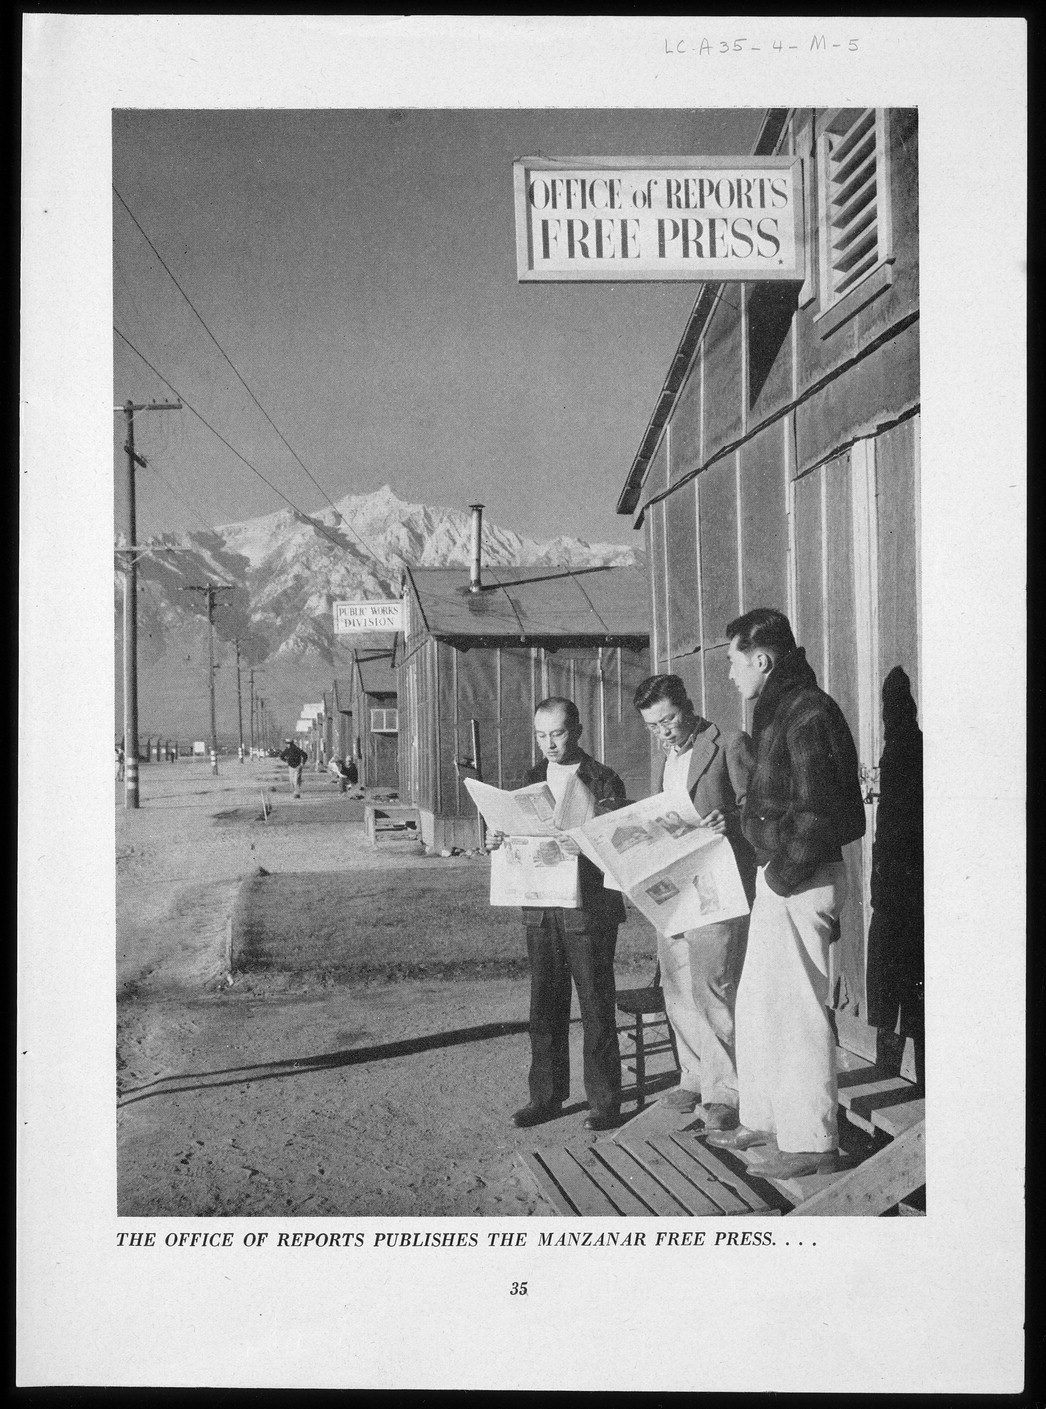
Ansel Adams photo from the Manzanar relocation camp, 1943.
Object: Separate the three guys from the background, then use filters to change the background. We’ll use a Quick Mask, which is a temporary layer that gives you an irregular shaped selection. The selected part can be cut and pasted into a second layer.
The Quick Mask is the second tool from the bottom.
- Download the photo and open in Photoshop. Check the size (should be less than 500K) and optimization (Should be 72 pixels / inch).
- Turn Quick Mask on, use the dark paint brush to apply the mask, and white color to correct and erase the mask.
- When you have a portion isolated, click off the Quick Mask mode and your area will be selected; you’ll see the “crawling ants.”
- You can now cut and paste your selected area into a second layer.
- At this point, the layers can be treated separately, and you can use the Filter effects on the background or adjust brightness and contrast or do other things.
The in-class exercise often uses this Ansel Adams photo, but its OK to use another if you like.
Gimp: separate the dog from the background
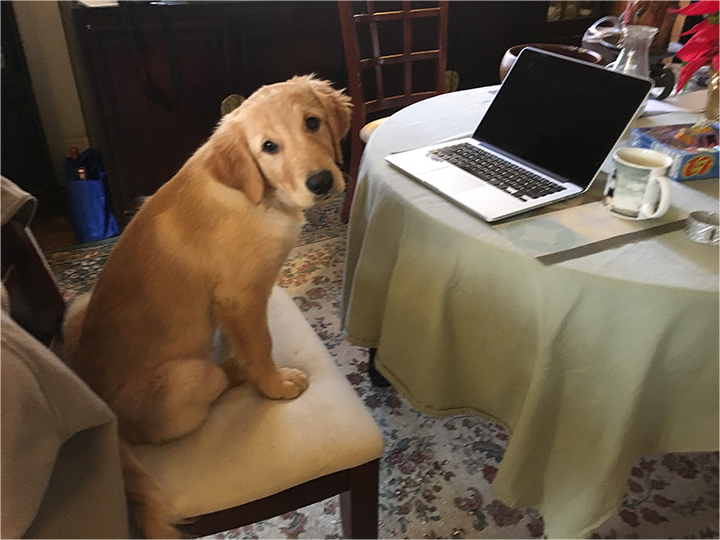
Object: Separate the dog and the computer and put it on a different background.
Download the photo and open in Gimp. Check the size (should be less than 500K) and optimization (Should be 72 pixels / inch).
To isolate the dog and the computer:
- On the top menu (or the layers menu) pull down to Layer / Mask / Add layer mask.
- In the Dialogue Box, select White (full opacity) and push the Add button bottom left.
- Now set your toolbox pallet to black and then paint with the paintbrush over the parts you don’t want. You should see the checkerboard pattern come up.
- Use the color switcher in the toolbox and switch to white. This restores parts of the mask. So you can go back and forth with the mask, from black to white and back to black again, so you can get a perfect separation of the dog from the background.
- Create a new layer underneath. It could be a gradient of a solid color, or anything else you want.
- When done, save in native .xcf format
- Then “apply” layer mask and
- Expert the jpg and upload to your web page as 2.9a
The effect is quicker and easier in Gimp than it is in Photoshop’s Quick Mask function. Also, it’s non-destructive. You can remove the layer mask and still have your original photo.