
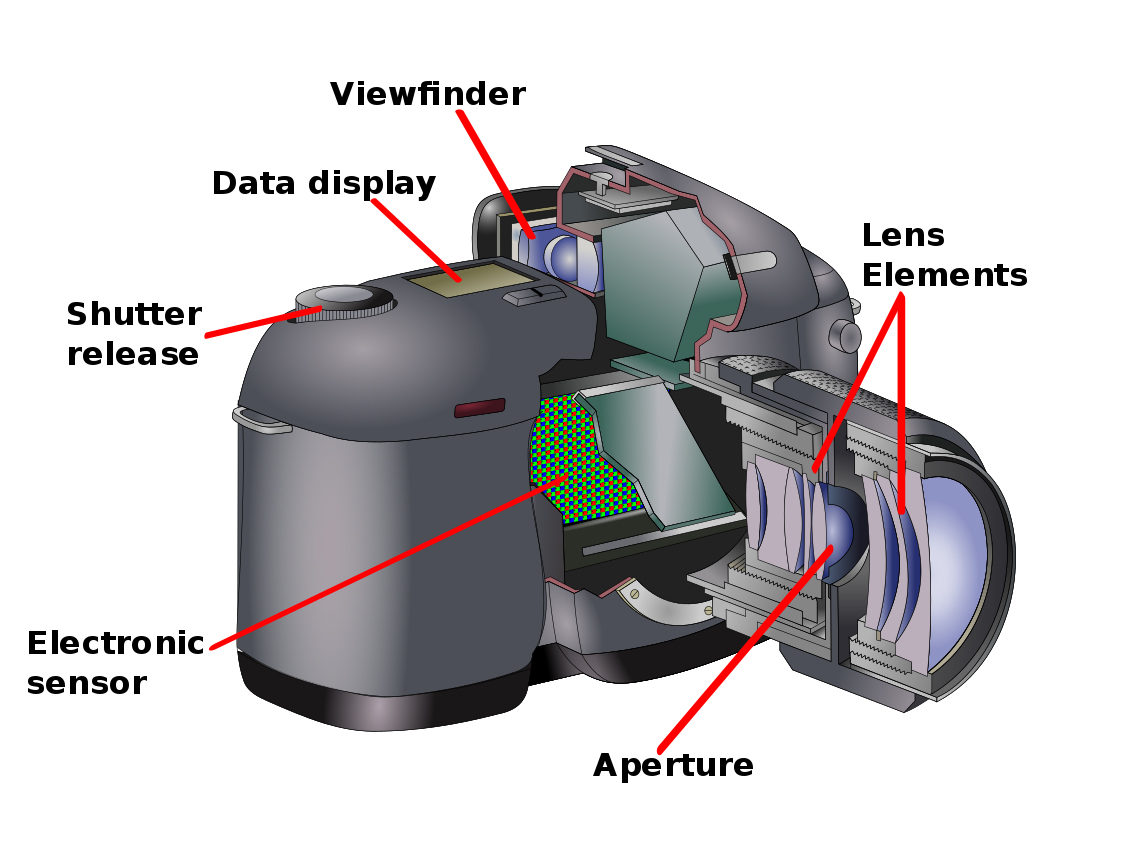
 From the dawn of photography two centuries ago, all cameras have had the same five basic components:
- A light-proof box containing …
- … light-sensitive material, which is carefully exposed with a combination of …
- a lens, and
- an aperture in the lens, and
- a shutter that covers the light-sensitive material most of the time but opens for a fraction of a second when the shutter is released.
1. A light proof box

18th century illustration of a Camera Obscura. Wikimedia Commons
A light proof box is called a “camera” because it comes from the Latin term “camera obscura” which means “dark room.” This refers to a phenomena that has been noticed across many cultures and in many different pre-industrial eras of human experience. The phenomena is that a person in a room that is completely dark — except for a tiny pinhole that lets in light from the outside — will see an image from outside projected upside down on the opposite wall.
Camera housings have changed in size and shape over the years, but the main job is the same: to keep out light until it’s time to expose the light sensitive material.
2. Light sensitive material
Since the dawn of industrial era it’s been known that certain materials are sensitive to light and have the potential to create a photographic image. The problem for early inventors is that the image would fade away. So the problem was how to “fix” the image. Thomas Wedgewood, famous for his china factory and experiments in electricity, probably came the closest in the 18th century when he discovered the light-sensitive properties of silver nitrate.
Techniques for “fixing” the light sensitive plate in a chemical bath were invented by French artists Joseph Niepce and Louis Daguerre in the 1820s and 1830s. By the summer 1839, the French Academy of Sciences bought their invention and published the chemical formula and procedures involving a metal plate coated with a light-sensitive gel.

A Parisian couple sits still for two minutes with the help of neck braces in order to have a Daguerrotype portrait taken. The long exposure times were necessary because light sensitive materials were relatively weak at the time. Engraving by Honoré Daumier, c. 1850.
Meanwhile, English photographer Henry Fox Talbot and others contributed a variety of technological advances, including the use of glass plates and negatives that could print many copies of the original exposure.
Still, photography mostly involved portraits of people sitting very still until more flexible cameras came along.
One major breakthrough came in the 1870s with the development of transparent celluloid films that were far lighter than glass plates. This allowed early “film” cameras such as those pioneered by the Lumiere Brothers in France and George Eastman’s Kodak company in the US. For about a century, photography involved film negatives printed as positives onto photo paper.
Another major change in technology involved digital cameras, which were developed in the 1970s and became cheap enough for popular photography in the 2000s. Today, the light sensitive material is a sensor plate that picks up photos and stores them as a digital image. Early systems used a CCD (charged couple device) sensor, while the newer systems use a CMOS sensor (Complementary metal–oxide–semiconductor). Higher end professional cameras ($2,000+) have larger sensors (Nikon FX cameras), while smaller popular cameras tend to cost about $200 to $1,000 (Nikon DX cameras).
ISO ratings are one way that the light sensitivity of a digital camera is rated. By 2016, digital cameras with an ISO rating of 25,000 and more were available, making precision low-light photography possible.
3. The Lens
The primary job of lens is to focus the image on the surface of the light-sensitive material. A good lens will give sharp details and rich colors without distortion. Focusing can be automatic (for most cameras and camera phones) or manual.
 The Focal Length of a lens is the distance between the lens and the image sensor when the subject is in focus. This is expressed in millimeters ( for example, 28 mm, 50 mm, or 200 mm). If it’s a zoom lens, both the minimum and maximum are given (18–55 mm).
The varieties of picture angles are given here on a Nikon photography site. But basically, 50 mm is a natural field of human vision, while 400 mm would be telephoto, 18 mm would be wide angle and 10 mm would be “fish eye.”
4. Aperture
The aperture is located inside lens. It’s job is to control the amount of light going through the lens to the light-sensitive surface, so it can open and close in an iris-like configuration.
An aperture setting is called an f-number or “f-stop” and settings found in a ring around the lens may go from the most open (at around 1:1.2 or f-one-point-two) to the tightest (at around 1:22 or f-twenty-two).
A higher f-number means sharper focus and a greater area of focus, also called depth of field. But the higher number also means less light, so that means a slower shutter speed and a need for a higher ISO sensitivity.
5. Shutter
The shutter is the part of the camera that opens quickly to take the photo. A fast shutter is needed to avoid blurring, but a slower shutter may give a deliberate blurring effect. Speeds go from wide open or “B” (for “bulb”) up 1/2000th or higher for scientific & technical work.
The slowest shutter speed that will take a sharp photo with a hand-held camera is about 1/60th to 1/125th of a second. Sports photographers typically shoot in the 1/500th to 1/2000th range.
6. Recording system / SD card
One part of the camera that is unique to digital cameras is the memory card that is used in DSLRs to record and transfer images. With photos up to 24 MB each, it’s a good idea to get a memory card that has 32 GB or more of storage. Most cards will have a Class 10 sequential writing speed. Look for C10 on the SD card, especially if you are also going to record video.
Types of cameras
- Single Lens Reflex (and Digital Single Lens Reflex) — Professional cameras that allow focusing through the lens and have aperture and shutter controls
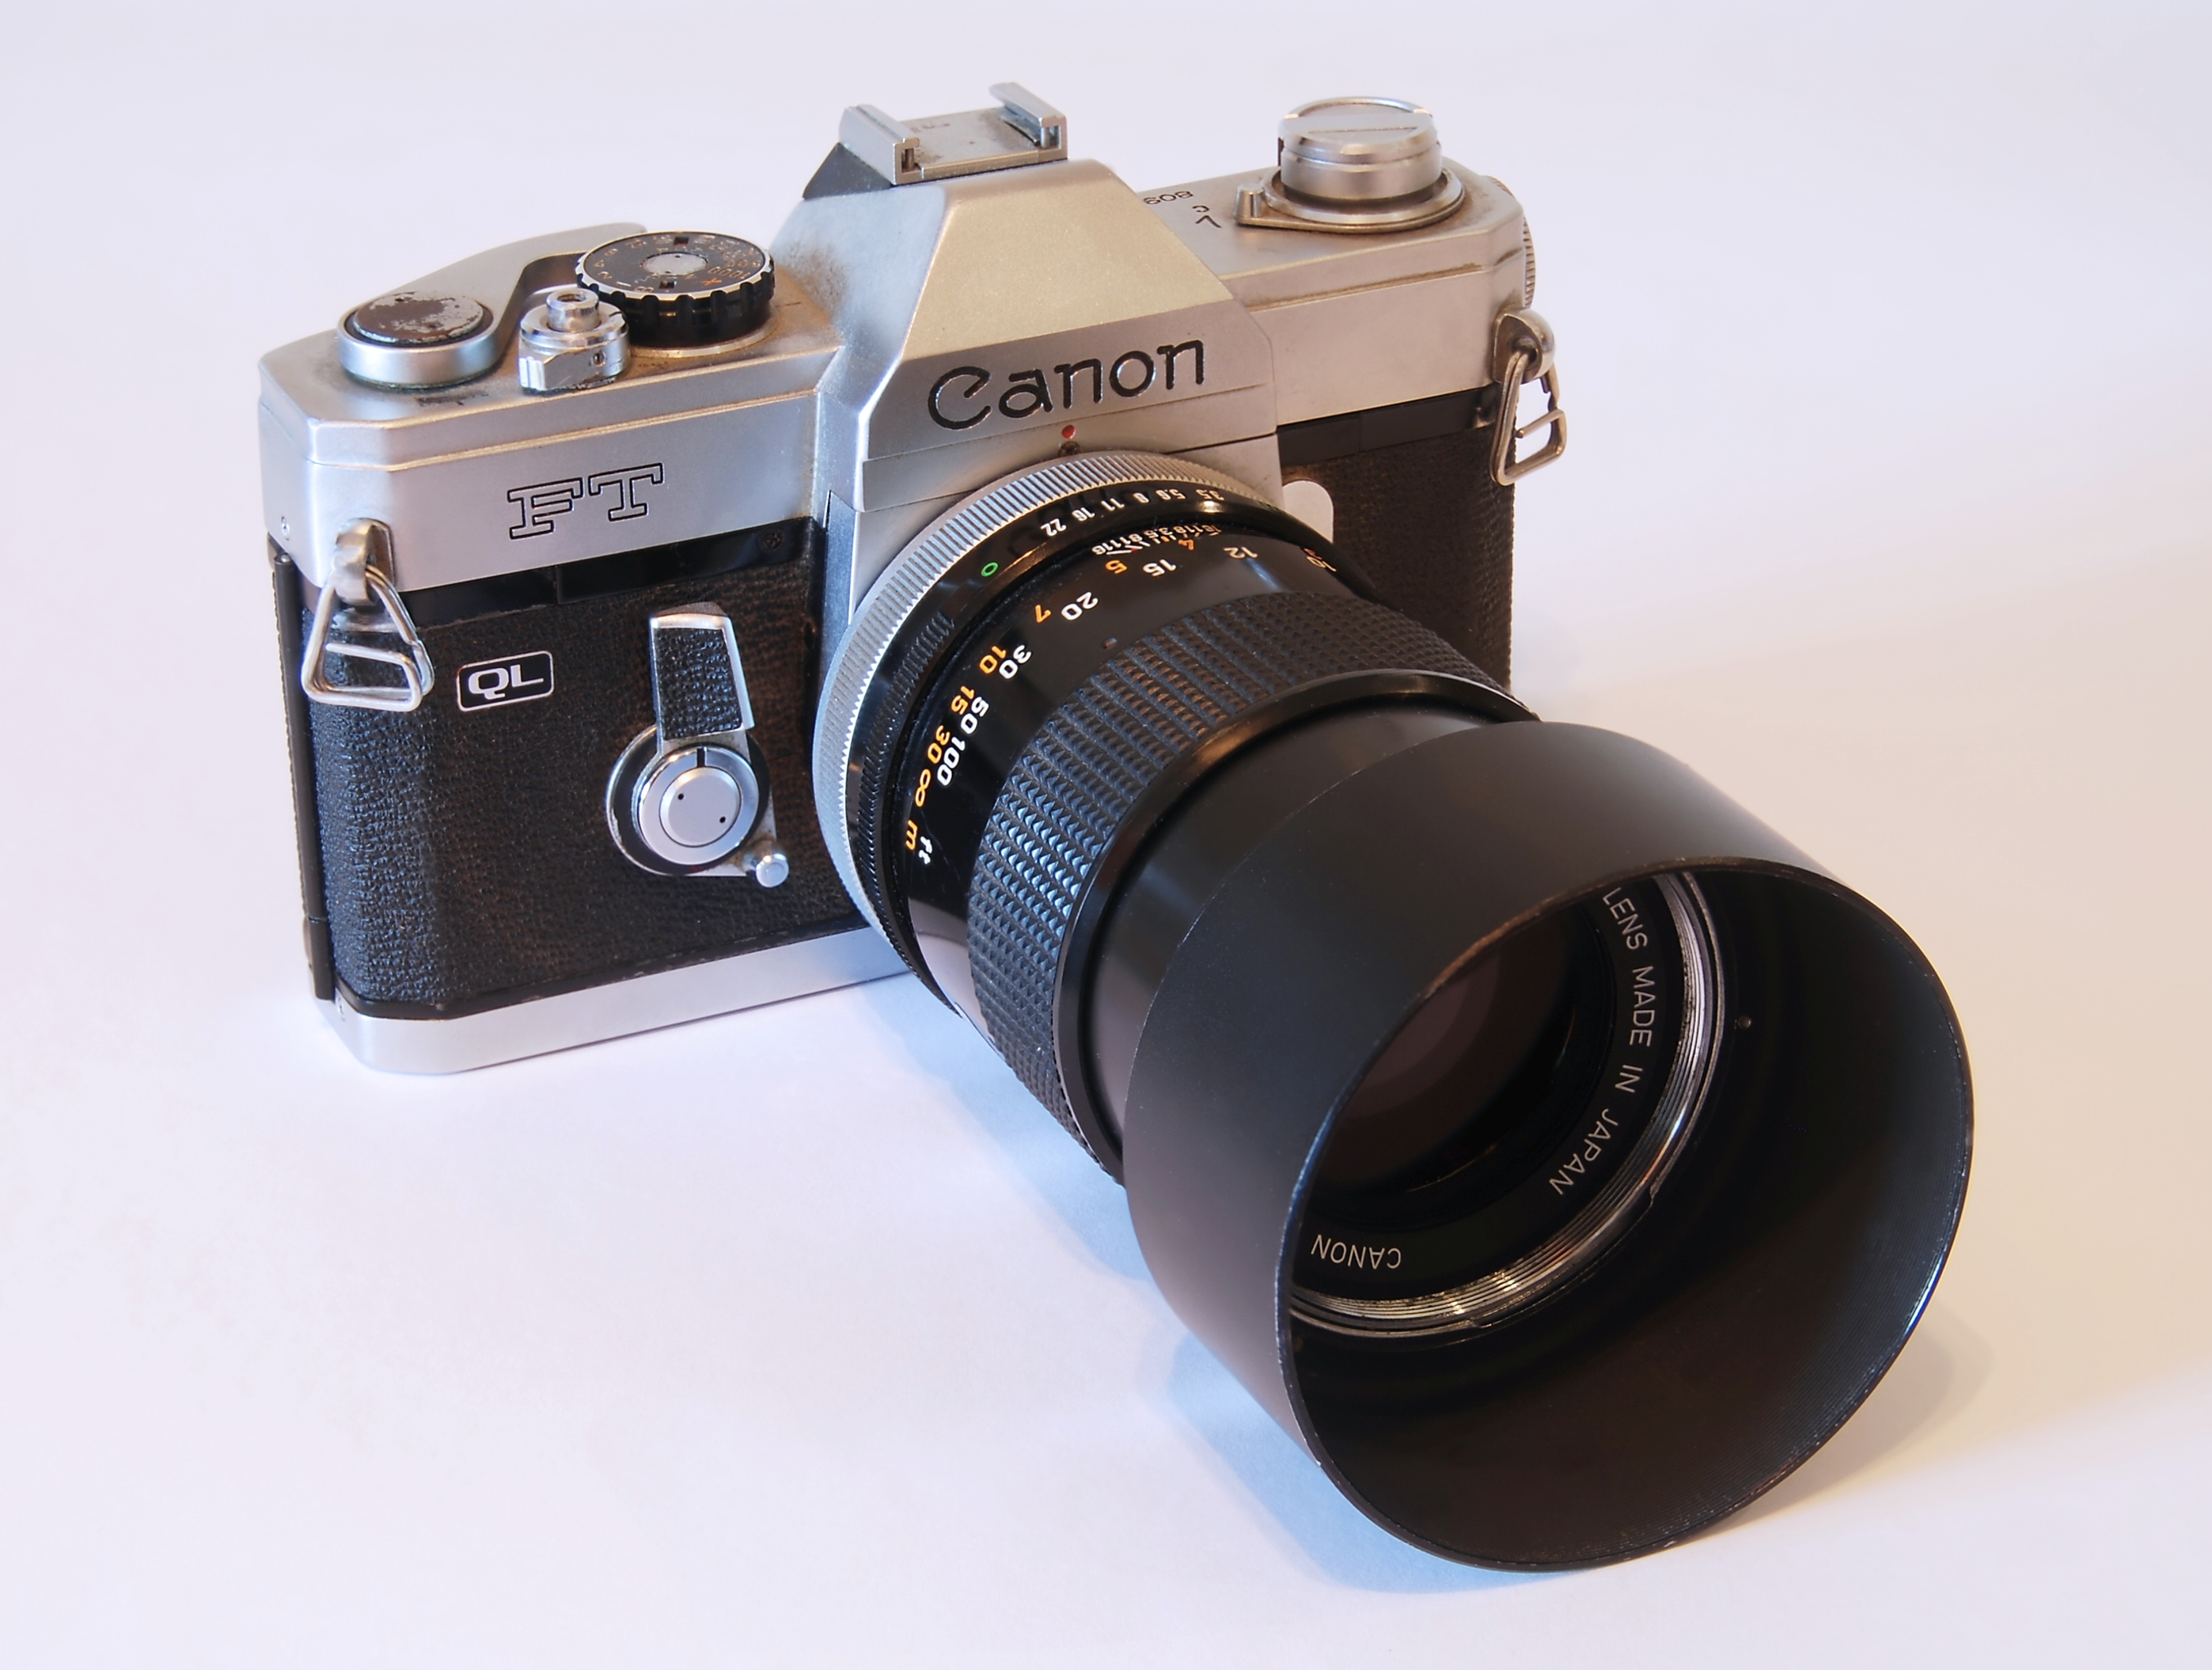
SLR — Canon 1966 35 mm film camera with 125 mm lens by Alvesgaspar, Wikipedia
- Mirrorless — Digital cameras without through-the-lens focus but similar to DSLRs
- Camera phones — Introduced in 2000, found everywhere today, not professionally flexible but very handy.
- Large format — 19th century glass plate cameras, late 19th and early 20th large format bellows cameras for artistic and landscape work
EXPOSURE
The skillful combination of ISO, aperture and shutter is what creates a good exposure. In most cameras, an automatic feature means you don’t have to worry about it just to get a snapshot. But it is important in order to understand digital imaging.
Many digital cameras have semi-automatic “aperture priority” (AP) or “shutter priority” (SP) settings. AP is what you might want to use for low-light or high lighting conditions. SP is what you might use for action shots where you want to avoid blurring.
Shutter, aperture and ISO are interdependent factors in achieving a good exposure. This exposure simulator, created by self-described “crazy inventor” Dima Tsvetkov, gives an idea of how the three main elements interact.
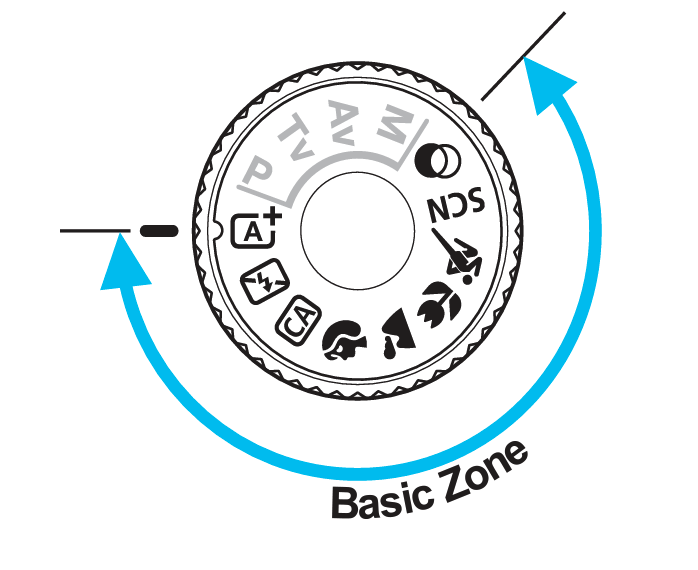
Canon Rebel T7i Mode Dial
Canon EOS Rebel T7i Mode Dial
A+ Fully automatic
Focus with half shutter, auto exposure
No Flash – Auto exposure will increase ISO
CA – Creative Auto (works with screen menu) 1. Set to CA 2. press Q button 3. Settings appear 4. press the cross keys to select a function, such as: a) background blur b) drive mode c) ambiance effects
| Portraits – Blurs the background and enhances highlights. Best with telephoto lens. Autofocus on eyes. |
|
| Landscapes – Infinite focus, enhanced greens and blues, flash turned off even for night shots. |
|
| Closeups – The auto lens will blink if you are too close. About 2/3 of a foot is the closest this gets without a macro lens. Try with telephoto. |
|
| Moving subjects — Track subject with autofocus (shutter half depressed). Shutter priority. |

SCN – Special Scene Mode (works with screen menu) Group photo, kids, candlelight, night portrait, hand-held night scene, HDR backlight control (HDR is High Dynamic Range).
——–
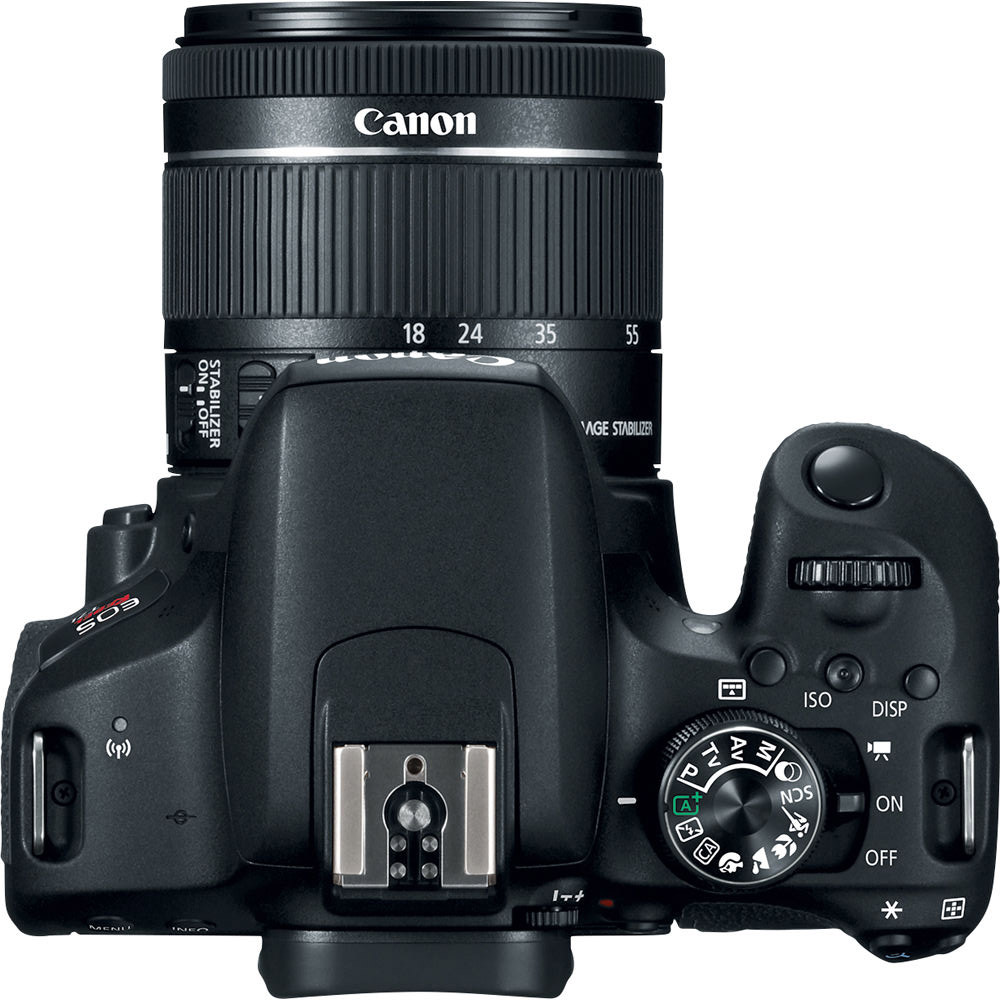
EOS R6
Shooting modes for “SC” described here.
———–
Class Exercise
1. Use portrait mode to take a picture of a classmate. Leave room for background to note blurring effect.
2. Use landscape mode for an outdoors photo.
3. Try the closeup mode outside
Review
- SLR – Single Lens Reflex camera – (usually 35 mm film ) and DSLR – Digital Single Lens Reflex camera
- Other camera types include mirrorless (film and digital), large format, and camera phones
- MB – Megabytes (5 to 24 MB are typical image sizes produced by a digital cameras.)
- GB – Gigabytes (16 to 120 GB are typical storage sizes for memory cards.)
- Camera components and their functions — The box, the light sensitive material, the lens, the aperture, the shutter, the recording system.
- Focal length of lenses
- Typical range of settings for shutter and aperture
- Typical ISO ratings of DSLR cameras
- ISO, aperture and shutter priorities for manual DSLR settings with different subjects and light conditions.
Checklist for independent photo assignments:
- Buy an SD card — At least 2 GB storage; circle 10, U-1 specs. (more info on cards at this link). The card goes in on the right side.
- Make sure the battery is charged. The batter is accessed from the bottom right side.
- Check the camera strap. It should be well attached to the camera and around your neck to prevent accidental damage.
- Read the manual. For a Canon EOS Rebel T1i, its here.
Basic operation:
- The “on” button is lower right.
- Start with the shutter setting on the green “automatic”
- Make sure the lens is set to “stabilizer on” and “AF” for automatic focus, unless you want “MF” manual focus.
Introductory videos: Introducing the Canon EOS Rebel T7i
User Interface Canon EOS Rebel T7i
Tips on using an iPhone camera: