

https://hdl.loc.gov/loc.pnp/ppmsca.51815
Optimize your images
This exercise introduces the basic technique for image optimization. We’ll be downloading a public domain photo from the Library of Congress, opening it, optimizing it, saving it, and then uploading it to your portfolio page.
The reason we need to do this is that very large files (38 megabytes) take too long to send via the web. We need much smaller files, around 100 to 500 kilobytes. We also need to be sure that we are saving in a web-friendly format, such as jpg or png. So …
- Download any public domain photo, such as this 1851 Daguerrotype photo from the Library of Congress to your desktop: https://www.loc.gov/item/2004664346/ There are download options on the LOC page at the lower left. Pull the option bar down to TIFF 38.4 mb. Click on “Go” to download to your desktop or download folder.
- Open you photo in Gimp or in Photoshop. You’ll want to use the tool bar and the layers pallet.
- Open “Transform / Scale” in Gimp or “Image Size” in Photoshop.
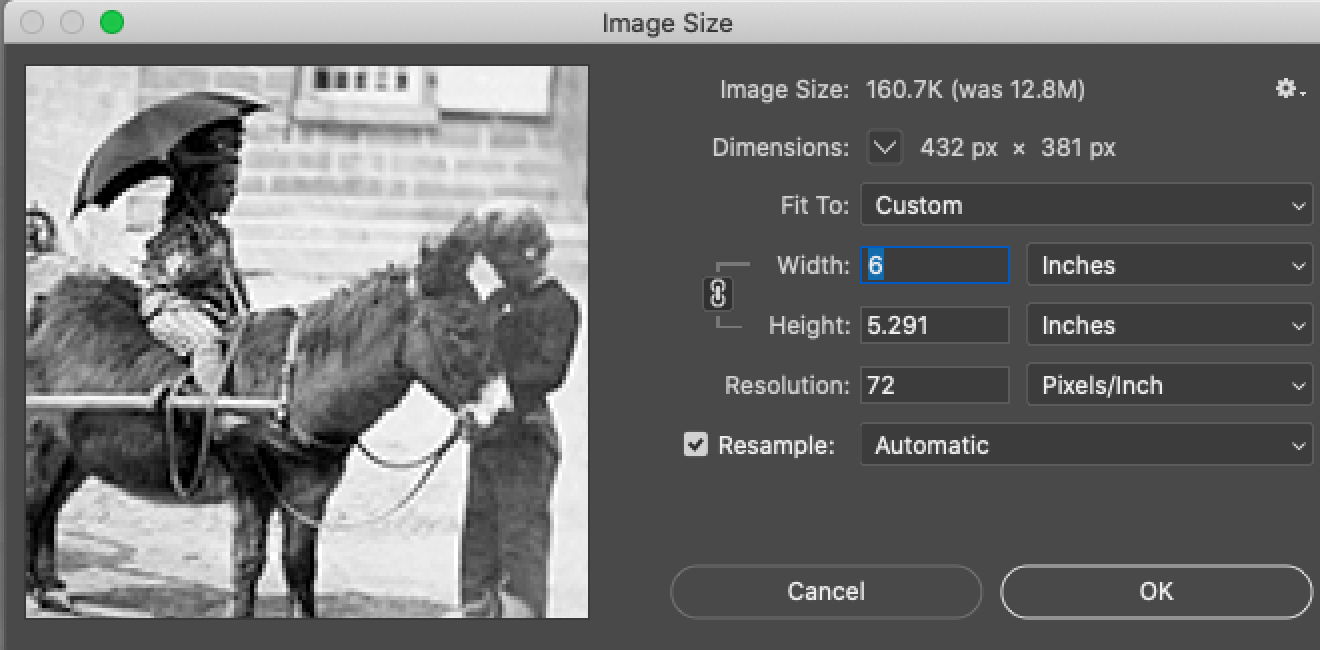
Photoshop “Image Size” box
In Photoshop, pull down from top menu Image / Image Size and change Image Resolution to 72 pixels/inch. Also change your dimensions to about 7 by 6 inches. Your overall file size should now be around 300 kb instead of 38 mb.
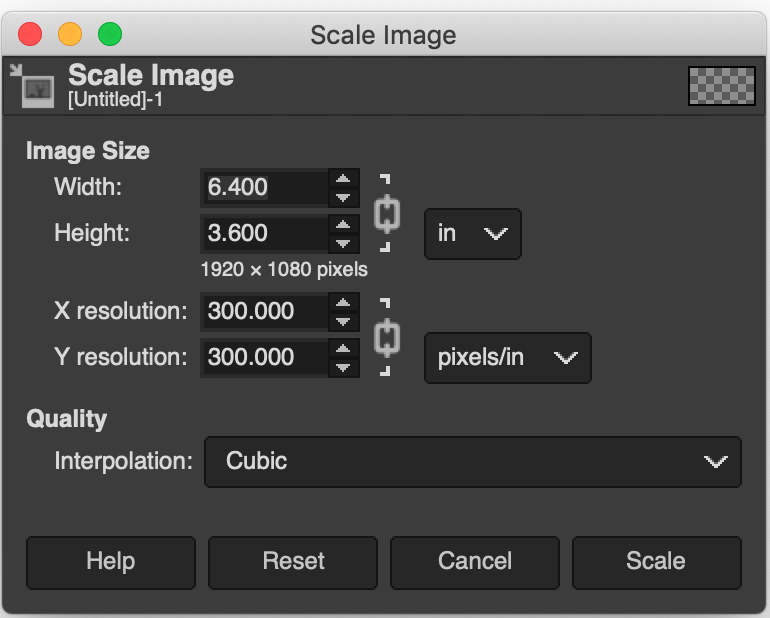
Gimp “Scale Image” dialogue box
In Gimp, pull down from top menu Image / Scale Image and change resolution to 72 pixels / inch and dimensions to 7 or 6 wide. Your overall file size should now be around 300 kb instead of 38 mb.
In both Gimp and Photoshop, you’ll export to a file format that can be used on a web site — either jpg or png.
Troubleshooting —
- If Gimp or Photoshop seems frozen or hung up, be sure you don’t have a selection or a process going on. Those little process windows pop up independently of the main screen and get lost on modern desktops. The solution is to go to Select on the top menu and pull down to Deselect.
- If your color selections seem to be stuck on black and white, check to see that your Mode is not on Greyscale. If it is, change it to RGB (Red-Green-Blue).
How to upload a jpg or gif to your portfolio site:
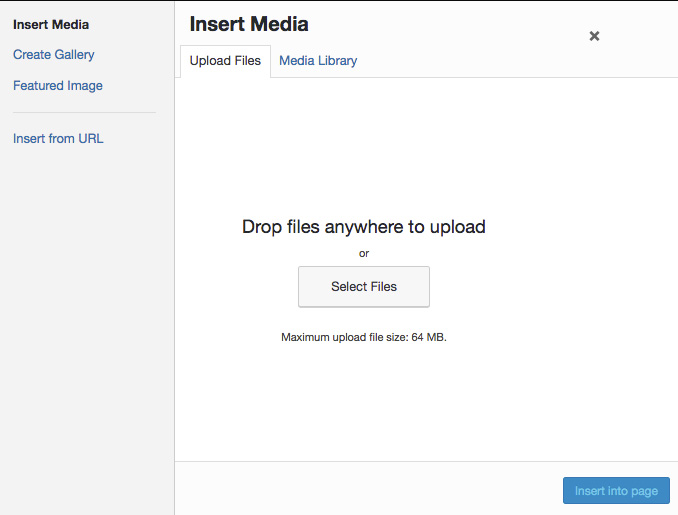
Insert media dialogue box, WordPress Content Management System
In a WordPress system, you have to create a page or a post before you can place a photo. (You already did this in A1.2.) So, open or create a page or post in WordPress.
Look for a the “add media” button in the upper left. Sometimes it will be inside a circle with a cross. Once you click on the button you will see a dialogue box for “insert media.”
Select one of several ways to add the media:
- Add something that is already in your library (Select “Media Library” on the tab)
- Upload something to your library — This is the usual thing you need to do with a new web site. Click on the “Select Files” button in the middle of the box, which then brings up a browsing box that lets you find the file to upload. Then the file is added to your Library and you can use it once or many times.
- Link via URL reference to a photo already on the web. Be careful with Wikimedia URLs, by the way. Usually you need to click twice on them to get to the Uploadable page ( “https://upload.wikimedia.org” ) NOT this: https://en.wikipedia.org/wiki/George_Washington#/media/File:Gilbert_Stuart_Williamstown_Portrait_of_George_Washington.jpg
- Optionally, you could select ways to display more than one photo in a gallery, which is a way to center and juxtapose three to a dozen photos. Or you might create a “Feature” image, which would be at the top of the page above the menu items (in most Themes).
Quick catch-up video for Assignment 1.1 and 2.1
.
Exercise 2.2
https://www.youtube.com/watch?v=c2e1gp1IjtA