
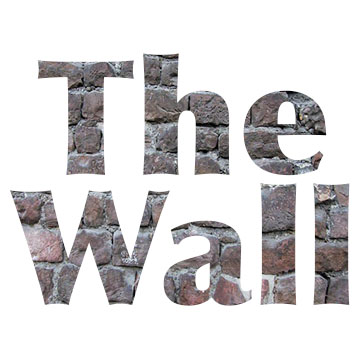
 A clipping mask allows one layer to show through another layer. This is especially useful as a text effect, as in this illustration. In Ex 10, we we going to make a “Jewel” case for a band’s CD, which we’ll just call “The Wall”
In Photoshop Or photopea.com
- Create a new Photoshop file 5 x 5 inches (The size of a CD case).
- Use text tool to write The Wall, make the text as large and as wide as possible in one layer.
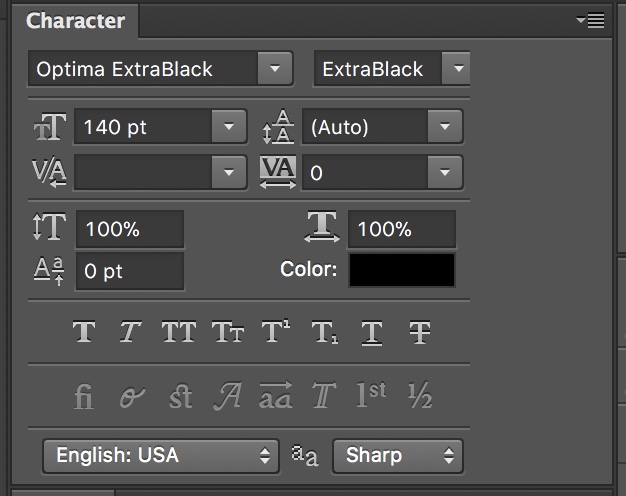
- Then open the Window > Character palet
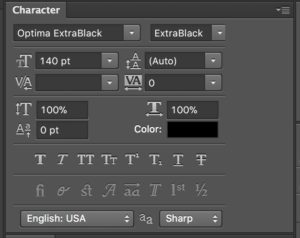
Character palet
Notice we’re using Optima Extra Black font, although others could also work. We want a font with thick characters so that the image of the wall can show through.
- Notice also that we are using 140 point text. The settings only go up to 72 points, but you can type in higher size numbers.
- Check out the space between lines, or “leading,” which is set on “(Auto)”– This is too much space. Highlight the text layer and try a different setting, possibly 120 points, to bring the lines closer. (Auto leading is usually about 30 percent more than the size of the type).
- Find an image of a stone or brick wall and put it in a layer above the text. (Yes, above). (One Wikipedia Creative Commons photo of a stone wall is here).
- Be sure the text layer under the wall layer. (Yes, under).
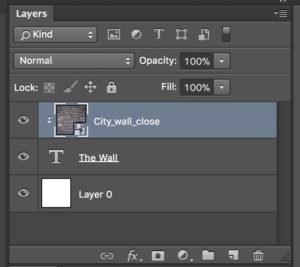
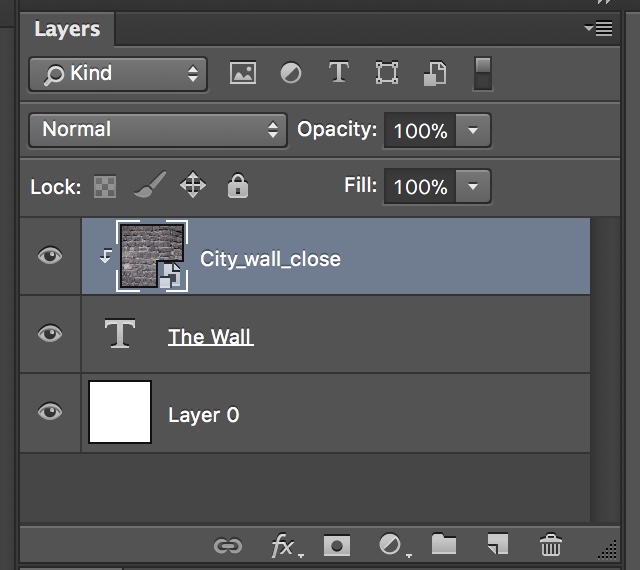
Layers pallet ready for mask
- Highlight the wall layer.
- It should look like the Layers pallet here:
- The layers pallet has a pull-down menu in the upper right corner. Pull it down and look for the command “Create clipping mask.” The bricks should come through the letters.
- Save your psd file, then save it again as a jpg and post it to your site.
IN GIMP 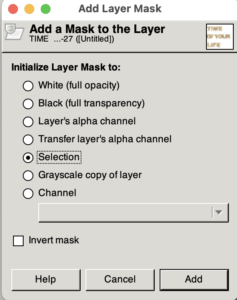
- Create a new .xcf file 5×5 inches, 72 ppi
- Use the text tool to write “The Wall” in a bold font
- Top menu: Select / by Color – and then use the eyedropper tool. to select the text color
- In the layers menu, Create a New Layer Group and add the text layer to it.
- File / Open as Layers – Bring in your background layer (bricks, stones, etc). Move it into the Layer Group on top of the text layer.
- Using layers menu, select the Layer Group.
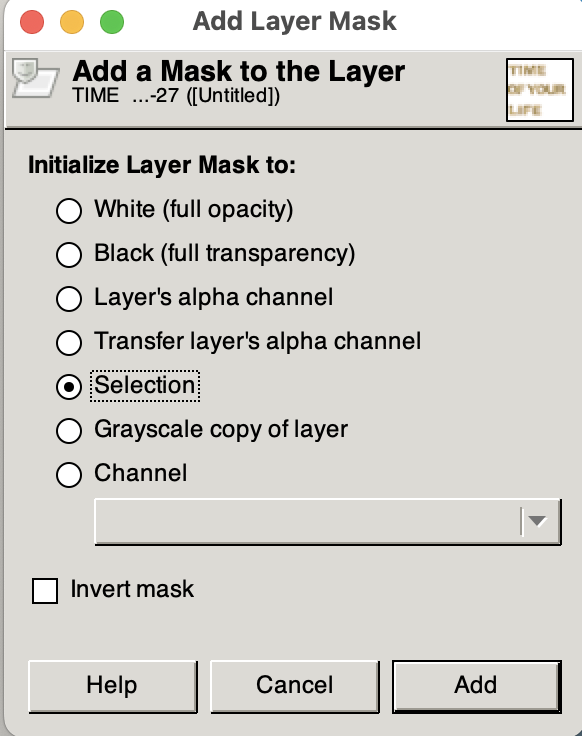
- Top Menu: Layer / Mask / Add Layer Mask and then in the dialogue box check “Selection”