

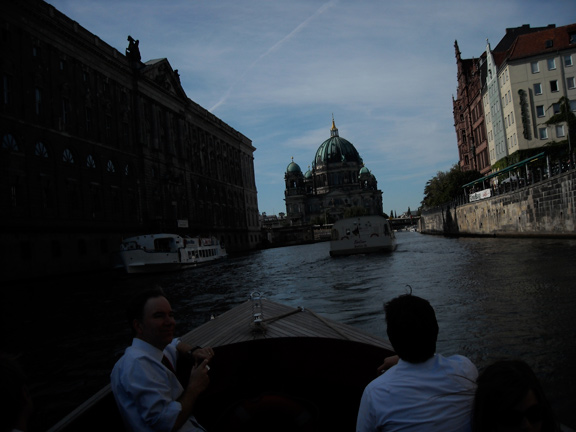
To levelize this photo’s exposure for web display, download it and open in Photoshop or Gimp. To download a photo directly from a browser window, right click on your mouse and pull down on the menu to “save image as.” You can save it to a special folder or the desktop, wherever it’s easiest to find. Then open in Photoshop or Gimp and:
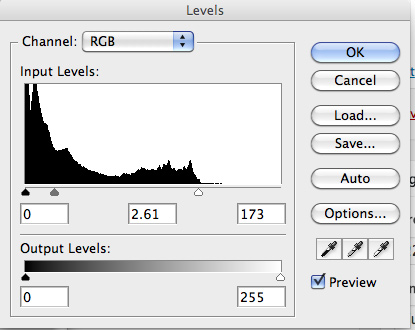
Adjust Image Levels (brightness, contrast, color levels)
To adjust the brightness and contrast levels of your photos, go to the upper pull-down menu in Photoshop and open the Image/Image Adjust / Levels dialogue box. You’ll see the histogram representing the brightness and contrast. Adjust the small triangles under the photo until they best match the photo information.
In Gimp, open the level dialogue box under “Colors” in the top menu.
 |
 |
 |
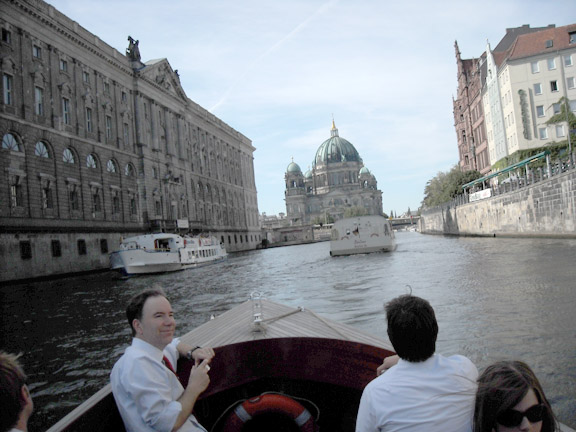 |
Rotate: Also, in handling 2.3, you’ll want to rotate the photo so the water is level on the horizon. The rotate tool is under the main menu, Image / Image Rotation / Arbitrary. Then use the crop tool to cut off the un-filled in edges of the image.
Optimize: At this point you’ll want to optimize Ex 3 Berlin. So:
- Check the levels.
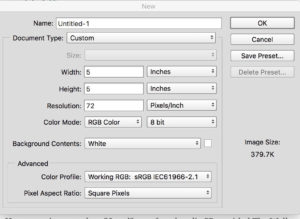
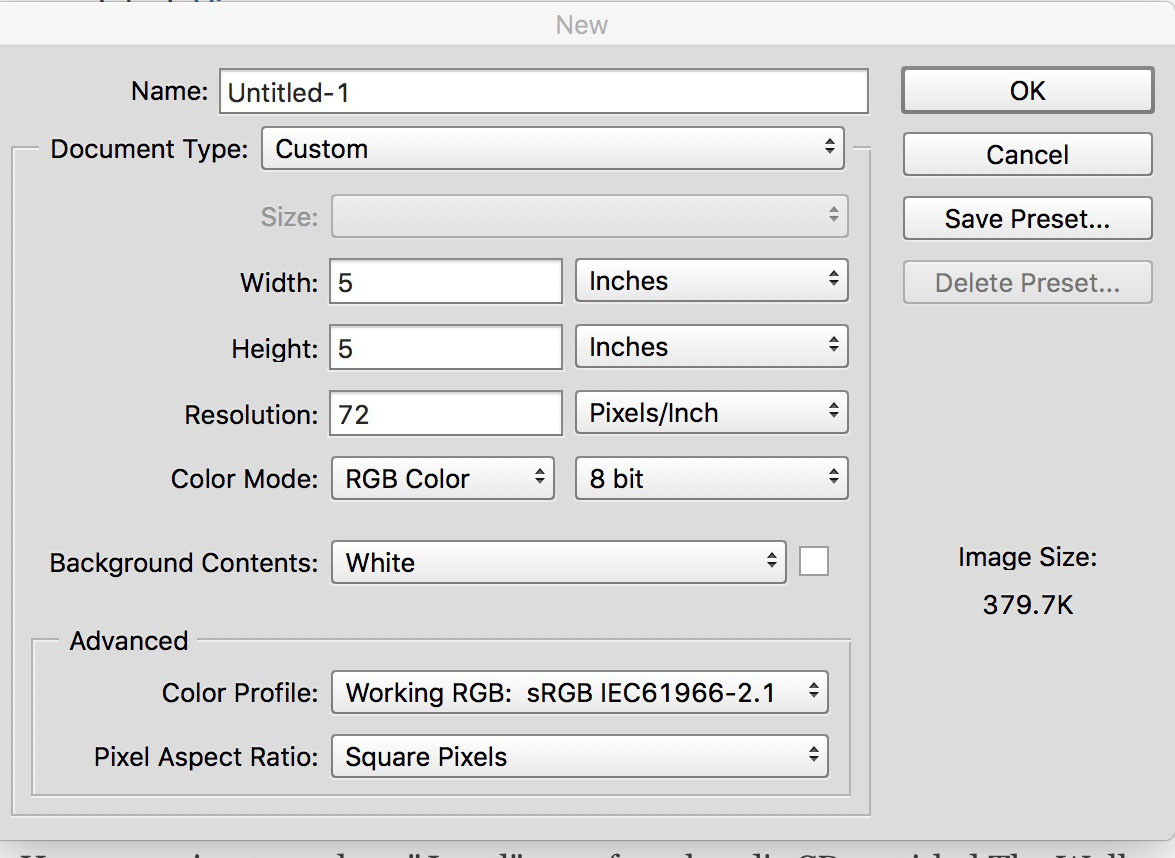
- In Photoshop, open ithe top pull-down menu to Image / Image size
- The dialogue box will tell you the Width, Height, Resolution and Image Size.
- Reduce the image size for web display:
- Change the resolution to 72 pixels per inch. (Be sure to check the resample box).
- Change the width and height. For most photos this should be around 5 by 7 inches (or 500 pixels by 360 pixels). Be careful: Don’t confuse pixels and inches. A 500 inch wide photo will be huge)
- For web, total file size should now be around 200 to 700 K max for web display
- “Save As” a .jpg for web display, and apply compression by adjusting image quality. Lower quality means higher compression and smaller file size.
MORE INFO
2.3 — Level adjust Butte / https://helpx.adobe.com/photoshop/how-to/photoshop-improve-tones-levels.html