

KDP start page
There are several kinds of software to help you publish a book. All will help you with the pre-press process for a paperback or hardback book, or the production process for different kinds of e-books. And all will deliver a pdf for print or an e-pub format for an e-book.
Microsoft Word has templates that allow book production, available here and here .
Kindle Direct publishing also has Kindle Create, which helps produce not only e-books but also paperbacks.
Indesign books – Ex 4.3

InDesign start page
However, for the full range of flexibility, most professionals prefer Adobe Indesign. In this Exercise 3, we are going to create a simple multi-chapter book using InDesign. We’ll set up pages, then create a chapter, then create several more chapters, then import the chapters into the InDesign book form. Then we’ll create a table of contents and export the document as a pdf.
- Open InDesign, select File / New / Document
- Page w x h ( 8.5 x 11.5 inches or 6 x 9 )
- Select number of pages (8), with facing pages
- Select 1/2 inch margins at top and bottom, but 1 inch inside and outside.
- Check primary text frame also
- Now name & save this new file.
- Go to top menu, Window / Workspace and select / Book. This arranges the workspace tools you need.
-

Pages panel
Go to Window / Pages. In the pages pallet, double-click on the “A” parent (in blue here). Using your text tool, create a text box at the top outside. Now go to Text / Insert Special Character / Markers / Current Page Number. When you click on the regular pages, you will see the auto numbering in action. Go back to the “A” parent and insert page numbers for the other side and other (optional) recurrent features, such as a one-point line across the top at about one inch that will be repeated throughout the book.
- Go to the regular (“child”) pages and plan your publication. Page 1 is the cover. Page 3 is the table of contents. The other pages will be for various chapters. Let’s say you have three chapters, with eight pages per chapter.
- Chapter pages should start about 1/3 of the way down the page. Then create a text box using dummy text (menu / Text / Fill with Placeholder text).
- Chapter headings should have their own special paragraph style that can be
 loaded into the Table of Contents. Use the Paragraph Style panel to create these.
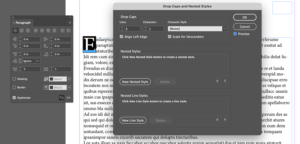
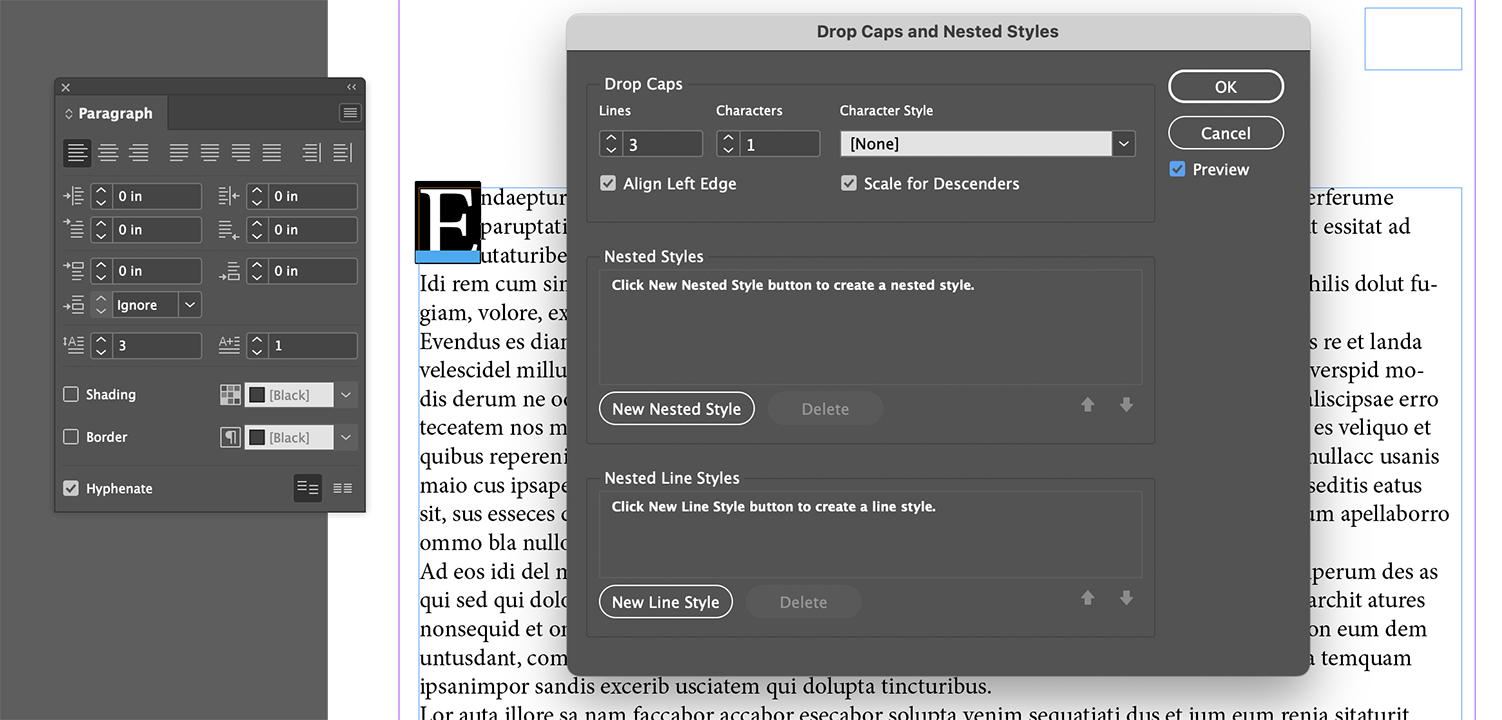
 - (Optional : To enhance chapter headings, create a “Drop Cap” — Highlight the first letter, using the Windows / Type / Paragraph, and then in the upper right pallet menu, select “Drop Caps and Nested Styles” and get this secondary pallet. The drop cap effect is seen between the two pallets.)
- Once you have completed one chapter, we’ll simply copy two or three more dummy chapters (just. for this exercise). Renumber them and keep them in the same folder.
 Now open File / New / Book. At the bottom of the Book panel there is a cross symbol that lets you add chapters. Click on the cross and then add your chapters to the Book. Notice that the page numbers are automatically adjusting (assuming you did step 3, above).
- To create a Table of contents, use the Layout / Table of Contents command. You should get a text block on your cursor that you can click and drag to place on the page. The result should be all the chapter headings you created as paragraph styles in step 6 above along with the page numbers.


Now just export this book to pdf and paste on your web page.
More
How to make an Indesign book layout template