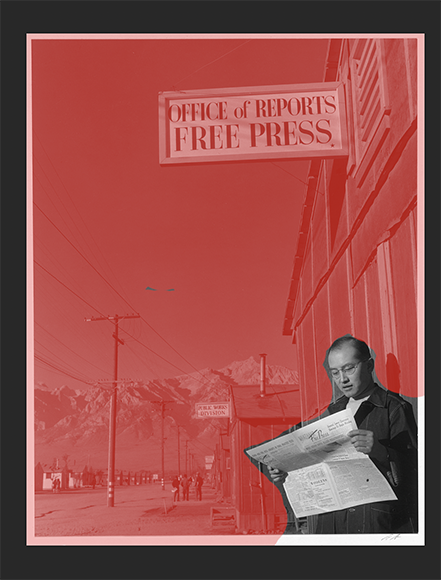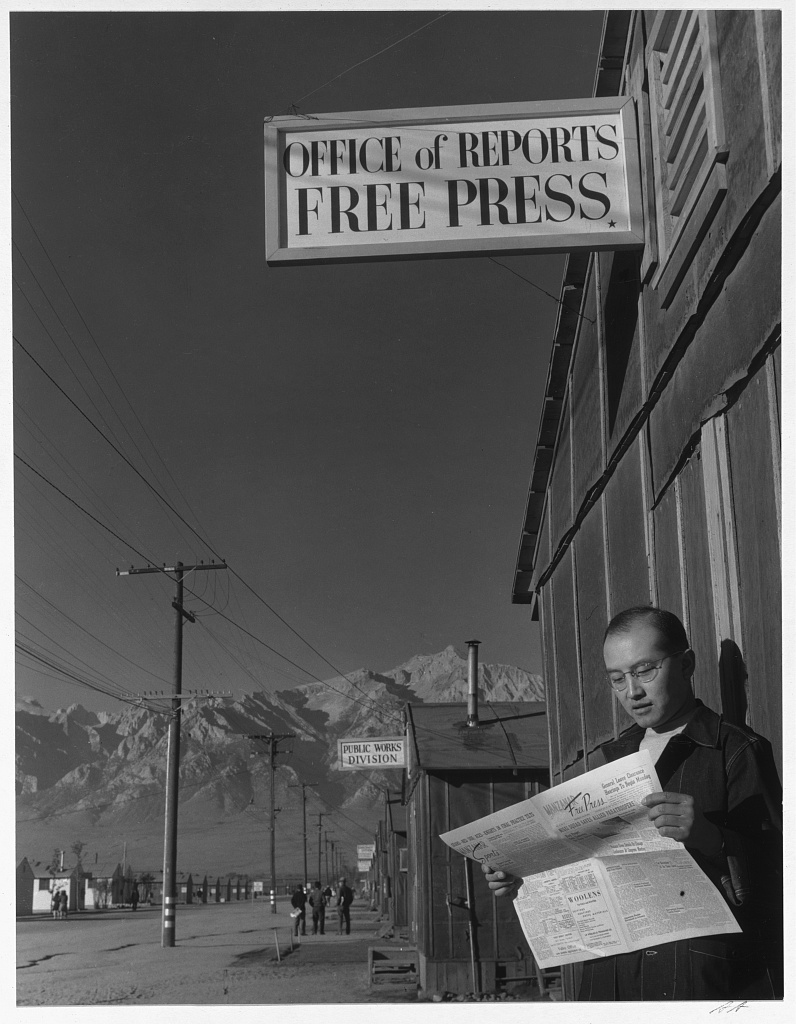
Roy Takino at the Manzanar War Relocation Center, 1942, by Ansel Adams.
This 2.11 exercise is extra credit
One of Photoshop’s strengths is the Quick Mask mode for separating parts of photos that need to be treated differently. Here we will use a public domain Ansel Adams photo from the Library of Congress.
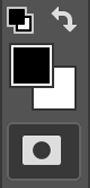
Quick Mask tool at the bottom. Use the brush tool to paint a red mask over parts of the image. Switch back and forth to add to mask (with black) or subtract (with white).
What we want to do is separate the foreground from the background so we can adjust the exposures separately.
- Click on the Quick Mask tool at the base of the toolbar. (Its the white square with the black circle). You’ll notice that the foreground and background colors in the overlapping squares right above the Quick Mask tool will turn to black and white.
- You want to start with black as the upper square. To switch back and forth between black and white, click on the curved arrow.
- Now shift to the brush tool and paint over the part to be masked. If there is a part that needs to be erased, switch the foreground with the curved arrow to white. That lets you use the brush to erase.
- Zooming in and out, and using the black and white foreground colors to add to and subtract from the mask, you can create a mask that is highly detailed.
-
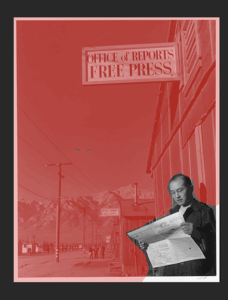
Quick mask is painted around the foreground. Click off the Quick Mask tool and the figure will be selected.
Once you are done, click on the Quick Mask tool again and you will see your masked area selected.
- Cut or copy the masked area, create a new layer and Paste Special > Paste in Place.
- Now, with the photo separated into two layers (or more), you can treat each layer separately. For example, use the opacity slider at the top of the layers pallet to make the background lighter and let the figure in the foreground stand out.